Active Directory Federated Services
With federated login via Active Directory Federated Services (ADFS), you can allow your organization’s users to sign into MyEnergyCAP and EnergyCAP with their on-premises credentials. If a user doesn’t currently exist in MyEnergyCAP, a user is automatically created the first time the user authenticates. A ‘default’ role (limited permissions) is assigned to this user so it is recommend to change their permissions role to the correct role in EnergyCAP as soon as possible.
Required Information
Before getting started, two required pieces of information must be provided to your EnergyCAP PM.
- The top-level email domain that will be used for federation
- Your organization’s ADFS Federated Meta URL
Instructions
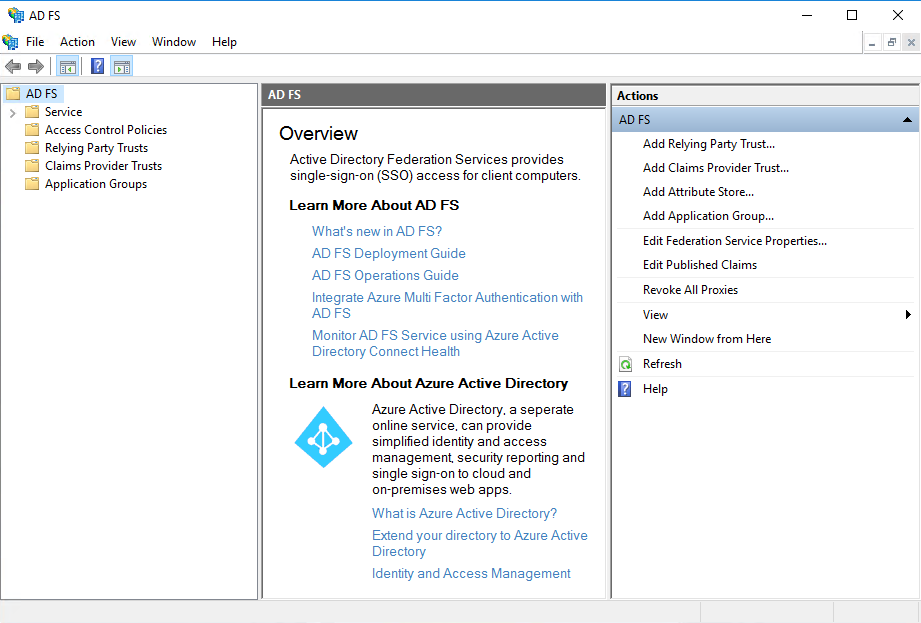
Open AD FS Management
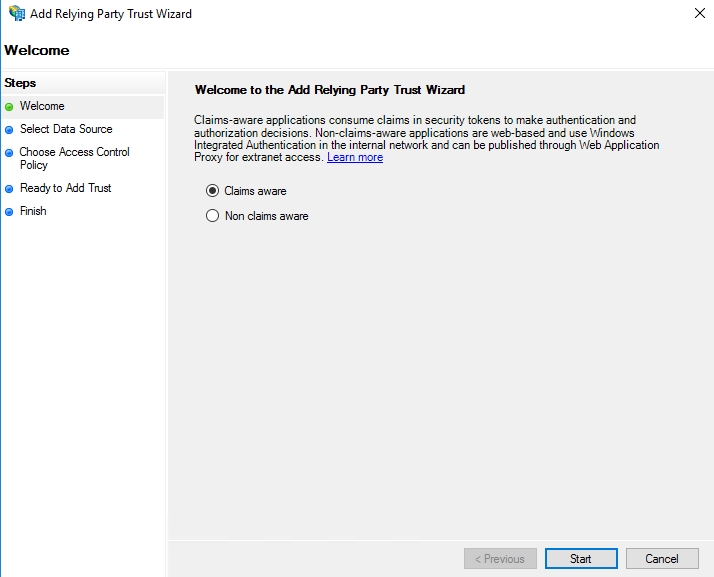
Ensure ‘Claims aware’ is selected and click Start
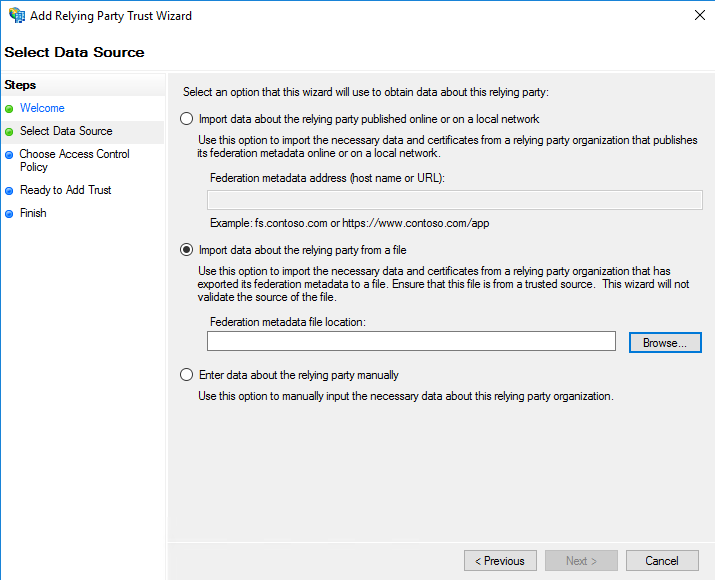
Ensure ‘Import data about the relaying party from file’ is selected and click ‘Browse’. Select the Entity Descriptor metadata file provided by your EnergyCAP PM
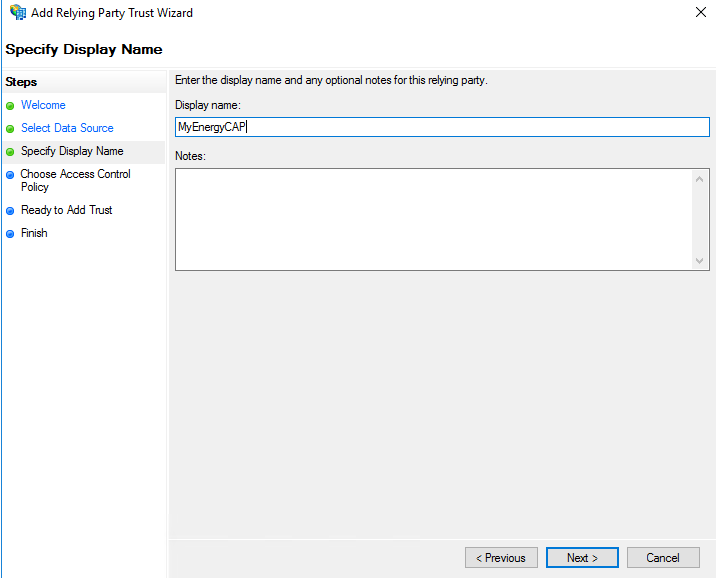
On the next screen, set the display name to ‘MyEnergyCAP’
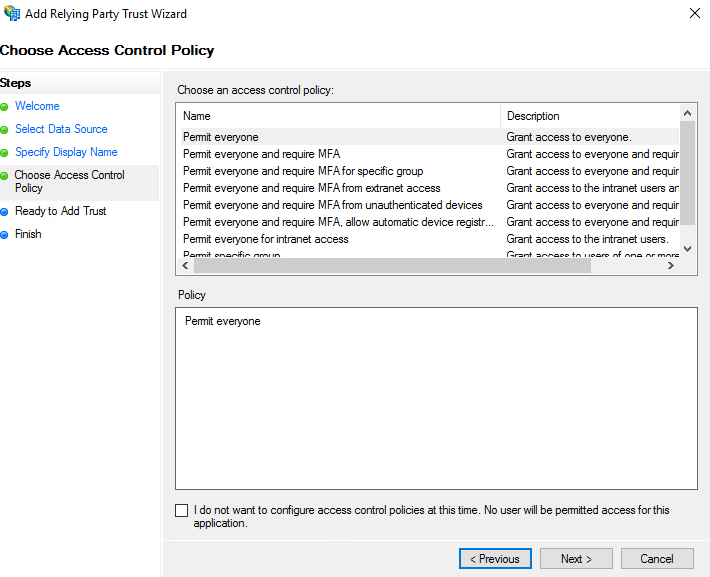
On the next screen, set up the Access Control Policy. The access control policy selected should be determined by company policy.
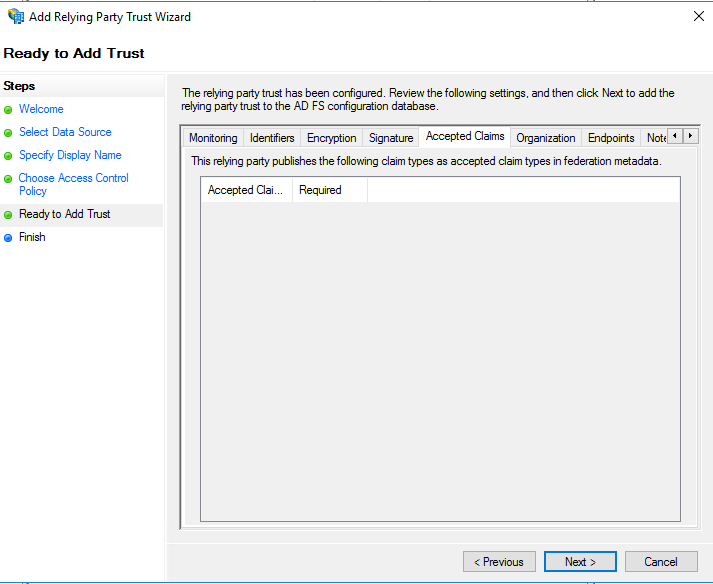
On the ‘Ready to add trust’ screen, select ‘Next’
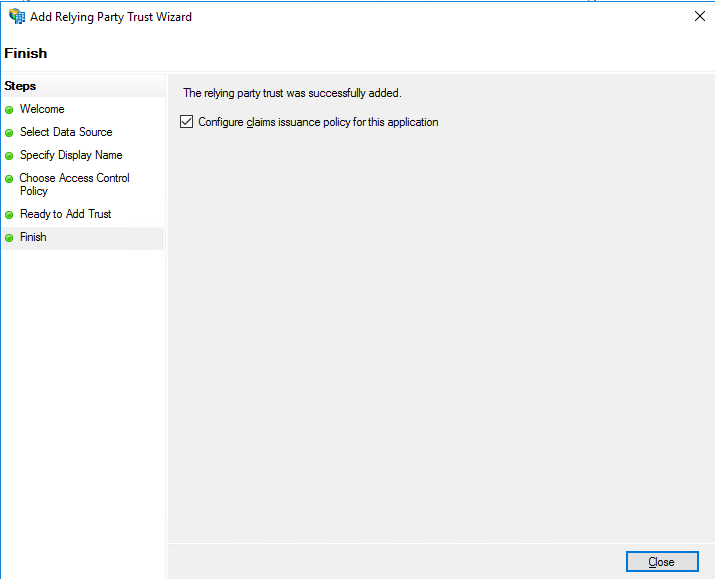
On the ‘Finish’ screen, ensure that ‘Configure claims issuance policy for this application’ is selected and close this dialog
The ‘Edit Claims Issuance Policy…’ dialog should automatically open
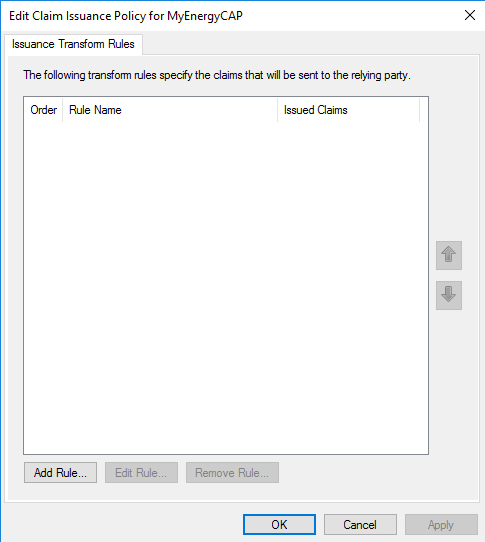
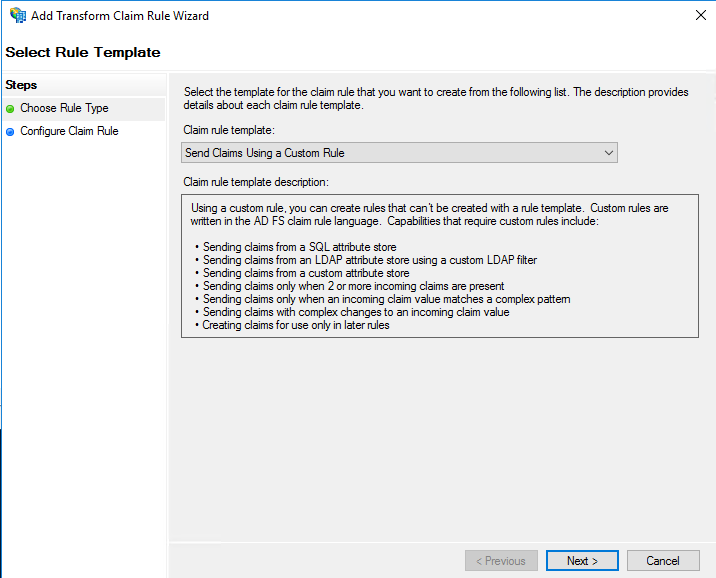
On the ‘Edit Claims Issuance Policy…’ screen, click ‘Add Rule’
Select ‘Send Claims Using a Custom Rule’ and select ‘Next’
Add the following custom role. This will send the ‘WindowsDomainQualifiedName’ as the SAML Name
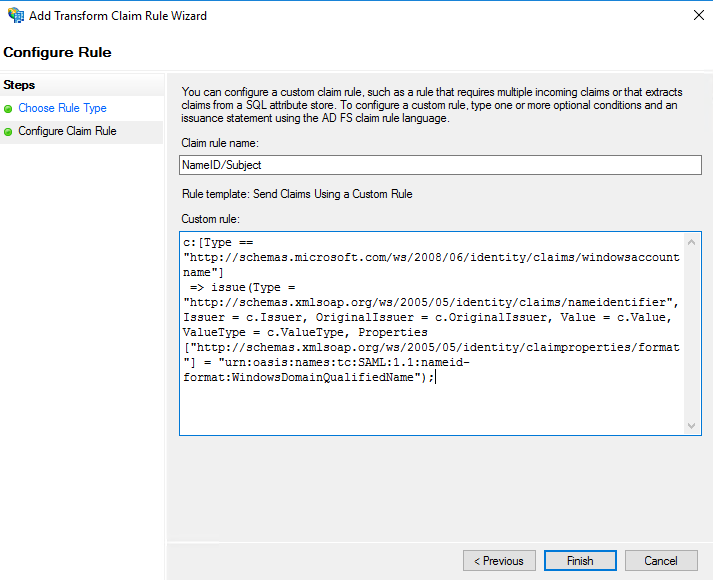
c:[Type == "http://schemas.microsoft.com/ws/2008/06/identity/claims/windowsaccountname"]
=> issue(Type = "http://schemas.xmlsoap.org/ws/2005/05/identity/claims/nameidentifier", Issuer = c.Issuer, OriginalIssuer = c.OriginalIssuer, Value = c.Value, ValueType = c.ValueType, Properties["http://schemas.xmlsoap.org/ws/2005/05/identity/claimproperties/format"] = "urn:oasis:names:tc:SAML:1.1:nameid-format:WindowsDomainQualifiedName");
Add another ‘Send Claims Using A Custom Rule’ with the following rule. This will send the other required claims, specific to MyEnergyCAP
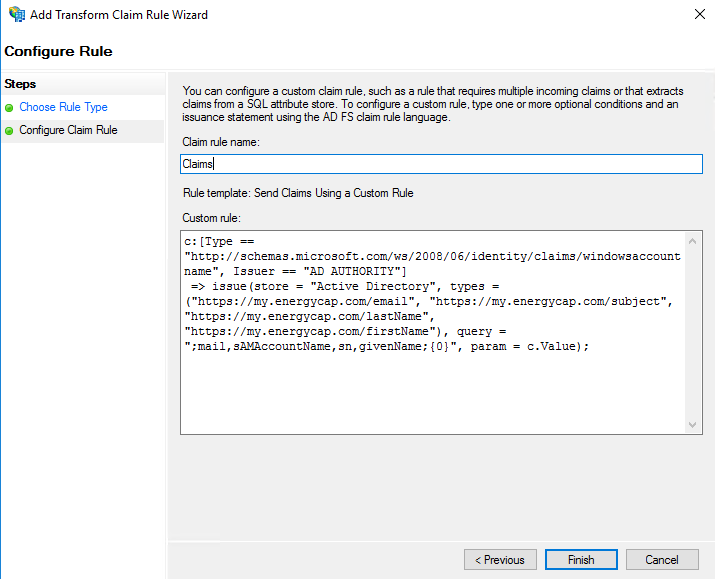
c:[Type == "http://schemas.microsoft.com/ws/2008/06/identity/claims/windowsaccountname", Issuer == "AD AUTHORITY"] => issue(store = "Active Directory", types = ("https://my.energycap.com/email", "https://my.energycap.com/subject", "https://my.energycap.com/lastName", "https://my.energycap.com/firstName"), query = ";mail,sAMAccountName,sn,givenName;{0}", param = c.Value);Close the dialogs. ADFS should now be configured to work with MyEnergyCAP and EnergyCAP